
How to Cook Guanciale
The goal is rendered fat and tender-crisp pieces — not scorched edges and still-raw fat.
Guanciale at a glance
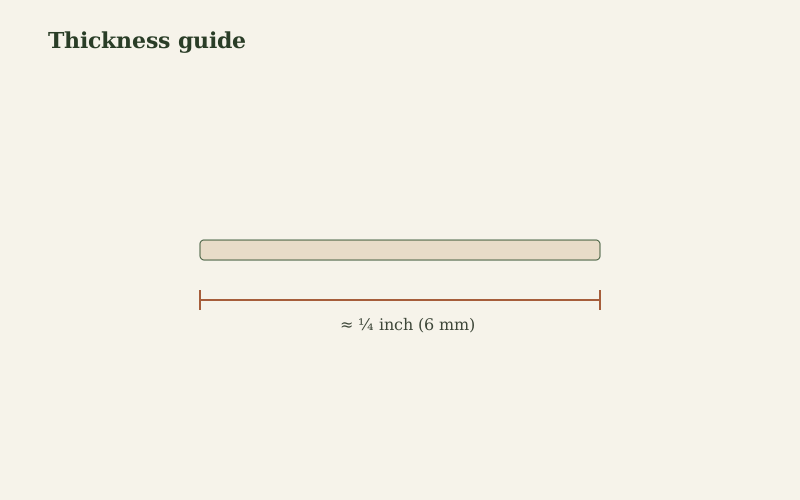
| Cut thickness | About ¼ inch (6 mm) strips or lardons |
|---|---|
| Heat | Start low–medium; never blast from cold |
| Time | Usually 8–12 minutes depending on cut size |
| Done when | Fat translucent/rendered; edges lightly crisp |
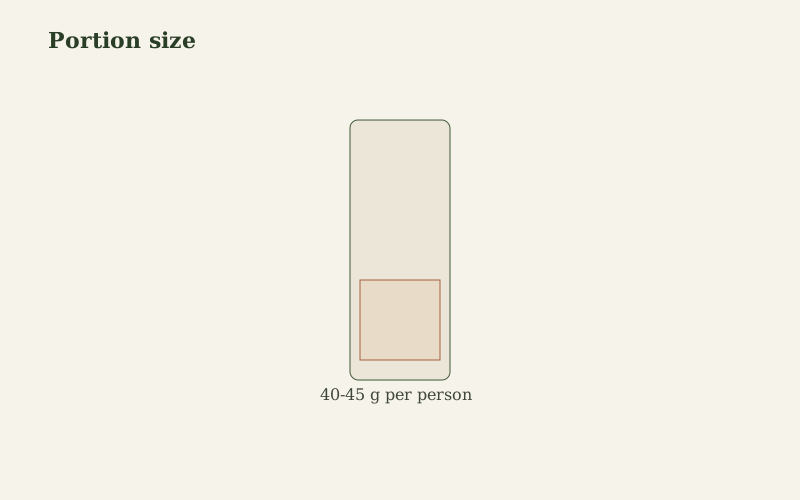
| Per person (pasta) | Roughly 30–40 g for classic Roman pasta |
1. Remove the rind (if present)
Some guanciale has a tough outer rind. Trim it away before slicing. Keep the seasoned exterior fat — that is flavor.
2. Cut for the dish
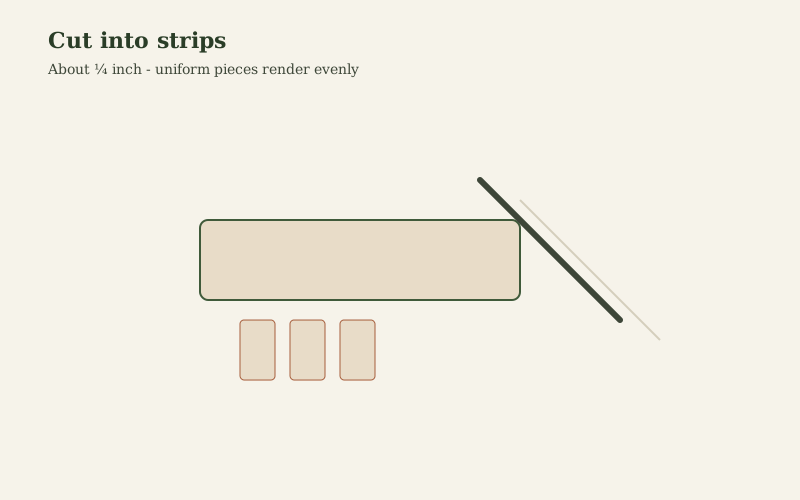
- Pasta sauces: short batons or strips so pieces tangle with noodles.
- Beans or greens: smaller dice render faster and distribute more evenly.
- Too thin: burns before fat renders. Too thick: fat stays waxy.
3. Render slowly
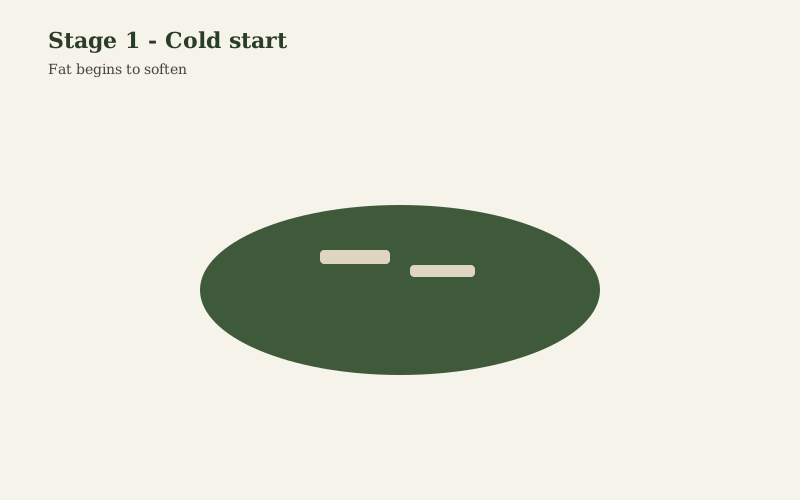
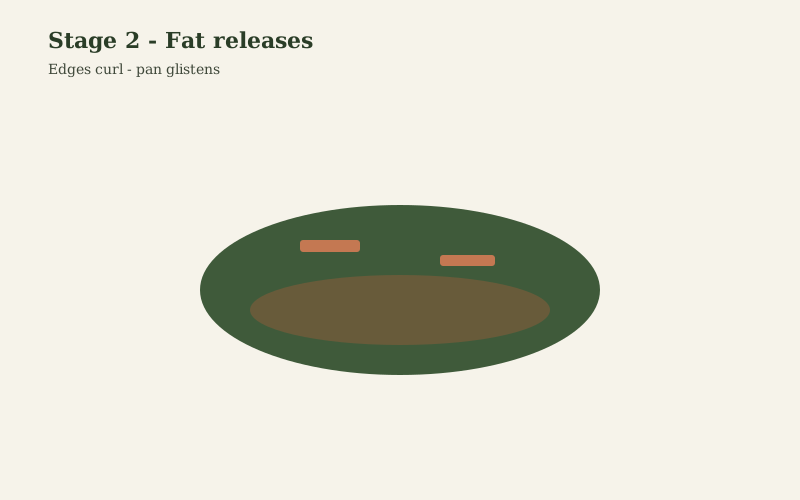
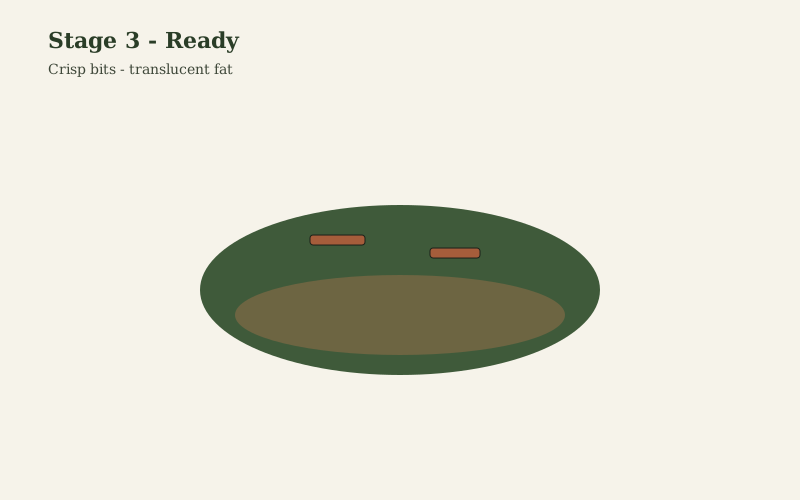
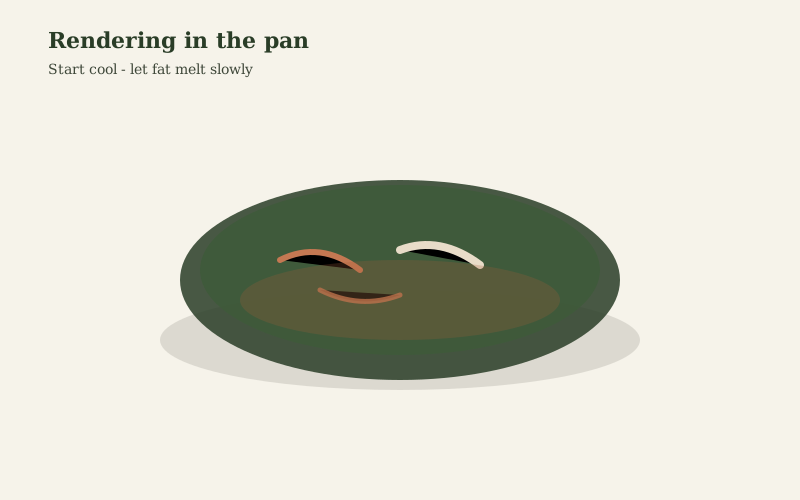
Place guanciale in a cold or barely warm pan. Turn heat to medium-low. As the fat melts, the meat will start to color. Stir occasionally. If the pan smokes aggressively, the heat is too high.
You want liquid fat pooling in the pan and pieces that are golden at the edges but still tender.
4. Manage the fat
For carbonara and gricia, keep most of the rendered fat — it is the sauce. For heavier dishes, spoon some off. Never throw away good guanciale fat casually; it seasons vegetables and beans beautifully.
5. Finish with pasta water
When making pasta, add a splash of starchy pasta water to the pan after rendering. That helps the fat emulsify with cheese and egg instead of separating into oil and clumps.
Common mistakes
- Starting on high heat
- Cutting paper-thin like breakfast bacon
- Crowding a tiny pan so pieces steam instead of render
- Draining away all the fat before saucing pasta